Description
INSTRUCTIONS:
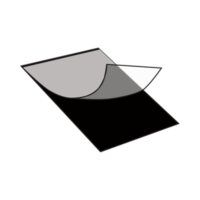
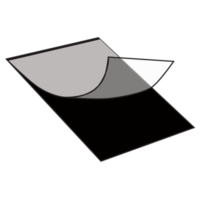
Simply place your printed paper or a photograph between the layers of the MagnetPouch. Insert the MagnetPouch into the provided carrier & run it through a heated pouch laminator. Be sure to run the MagnetPouches sealed edge as the leading edge into the machine.
TIPS FOR MAKING GREAT MAGNETS:
- A heated roller, pouch laminator designed for laminating photographs is recommended.
- Economical pouch laminators, having less than 6 rolls, can be used but, the MagnetPouch may require SEVERAL passes to complete the laminating/mounting process.
- Always use a Carrier Sheet provided by MagnetPouch.com. Failure to use a Carrier Sheet may damage your pouch laminator.
- Card stock over 14pt thick is not recommended.
RUNNING SPEEDS AND TEMPERATURES:
- For best results, fully preheat your pouch laminator prior to running a MagnetPouch.
- Set the temperature of your pouch laminator on high. (270-290°f)
- Run your pouch laminator at its slowest speed.
- MagnetPouch is designed for 8” X 10” paper. Multiple pieces of paper/photographs can be inserted in the MagnetPouch but fine wrinkles may occur.
- To insure flat magnets, remove the magnet from the carrier immediately after it exits the pouch laminator. Place the magnet on a flat surface for cooling.
- The MagnetPouch product runs differently on the wide variety of pouch laminators in the marketplace. You may need to try different settings based on your particular machine.
- Watch ‘How to’ Video for a full understanding of the product.


Reviews
There are no reviews yet.